

- Tags:
- Forestry,
- Working Forests
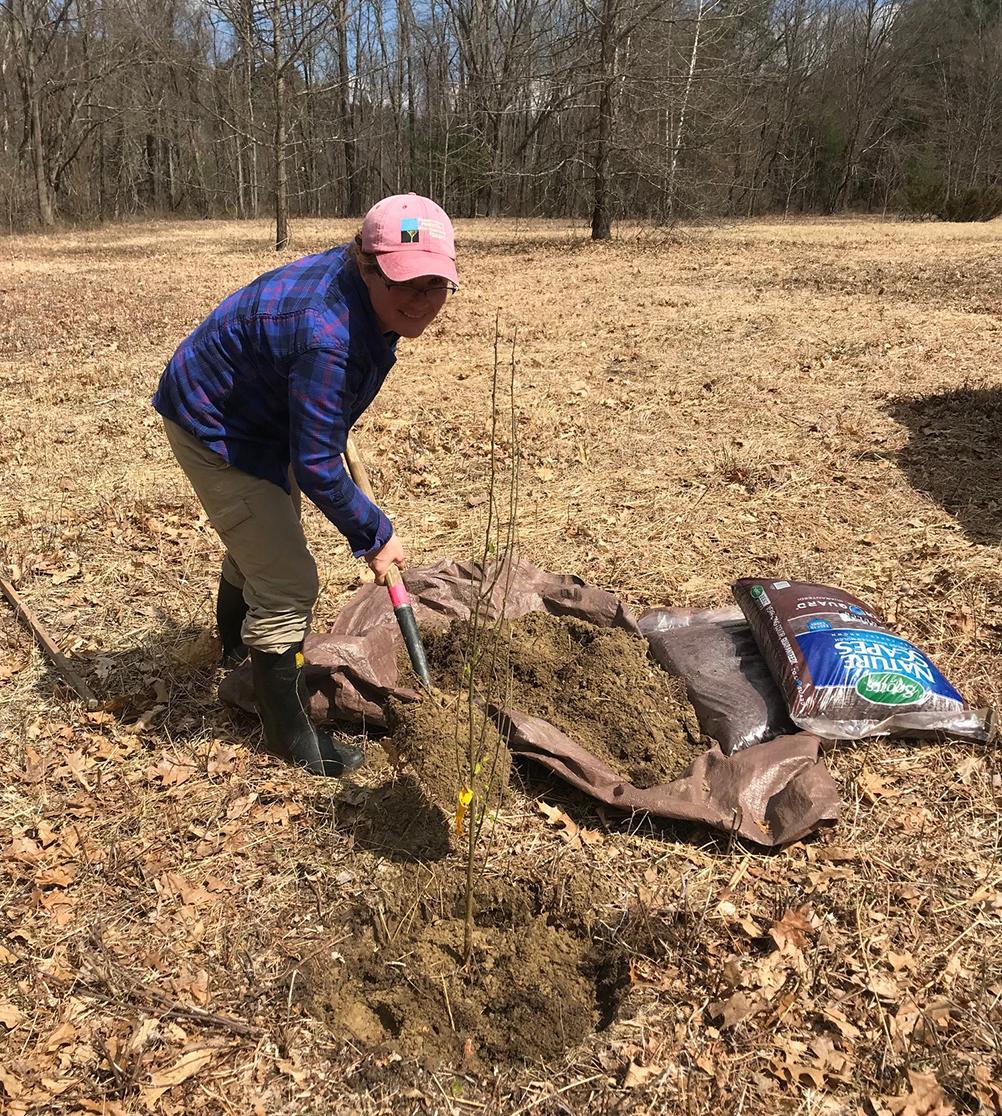
Carrie Deegan uses a shovel to fill the hole around a freshly planted mulberry tree at the floodplain in Concord.
Happy Spring! With Earth Day and Arbor day approaching and the warm weather finally arriving, many people are thinking about planting trees. This week our staff are working with students and volunteers to plant mulberry trees on our floodplain in Concord (formally known as the Merrimack River Outdoor Education & Conservation Area) to benefit wildlife. Next month, we will be working with many more volunteers to plant our Christmas trees at The Rocks in Bethlehem.
Our foresters are often asked if we replant trees in the forest after logging but here in the northeast trees naturally grow back after a timber harvest. In other parts of the country, trees may need to be replanted after a timber harvest or forest fire or other natural disaster.
Spring is the best time of year to plant trees so we thought now is a good time to share the basics of tree planting with you.
For starters, you’ll want carefully consider what is the right tree for your location. How tall will it grow? When will it flower? What are the best conditions for the tree? Many trees will do well with a lot of sun, but some may not do well in shady areas. Some trees are sensitive to road salt and a lot of lawn amendments. Other trees may not do well in very dry or wet areas and some may be sensitive to early and late frost on hilltops. Be sure to pick out a tree that will grow well in your location.
The photos and captions show how we planted our bare root mulberry trees this week.
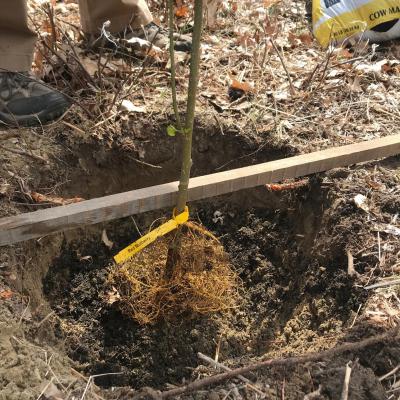
- Lay a tarp to place the soil removed from digging hole. Make sure the hole is larger and deeper than the roots. It’s important that the tree is planted so that the root collar is at ground level. We used a stake to measure that. Because the soils here are so sandy, we also added manure fertilizer to the bottom of the hole but this is not always necessary.
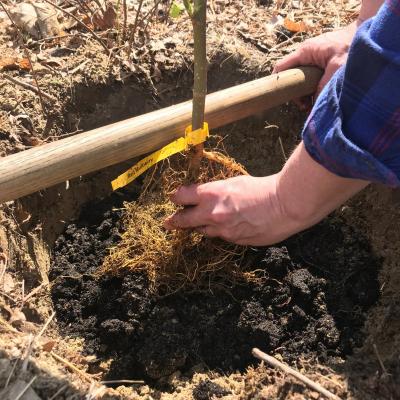
Carrie Deegan points out the root collar where we will set the depth of the tree.
Be sure to spread the roots out and take care to make sure none of the roots are folding back up on themselves in a “J”.
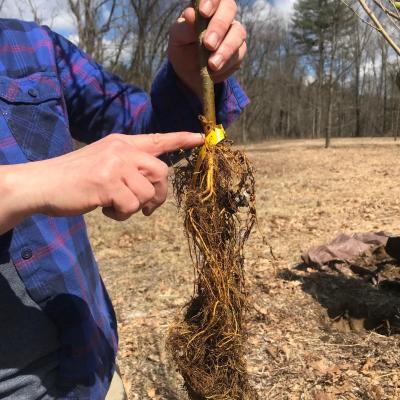
- Next, be sure all roots are not exposed by covering them with soil. Also be sure not to “volcano” the soil up above the root collar.
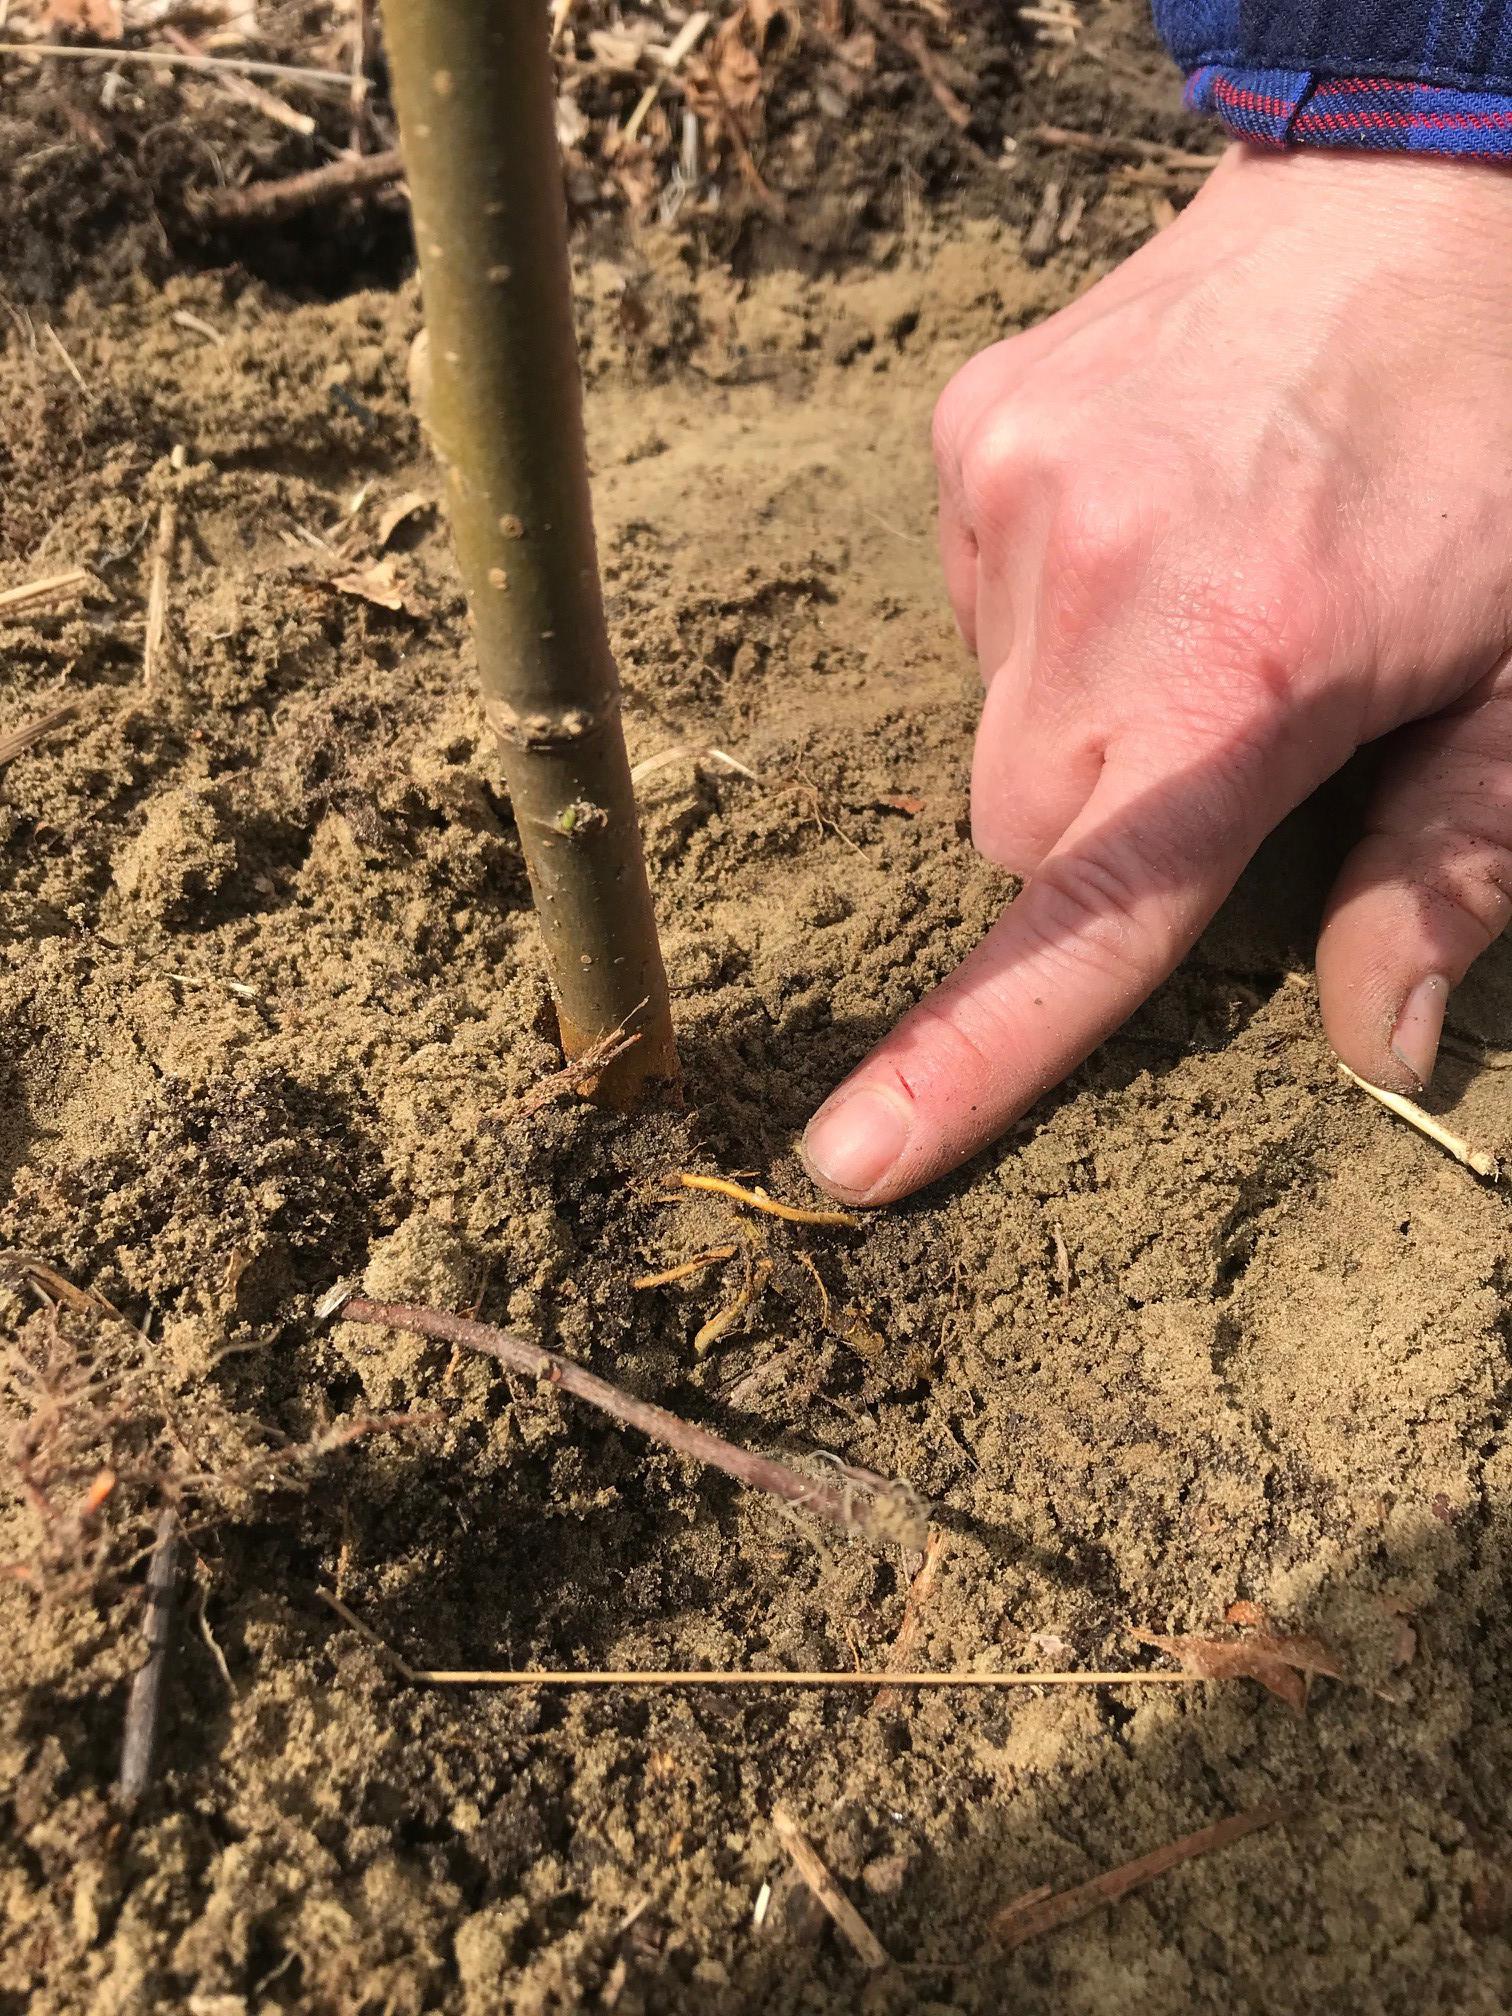
Here, Carrie points to an exposed root.
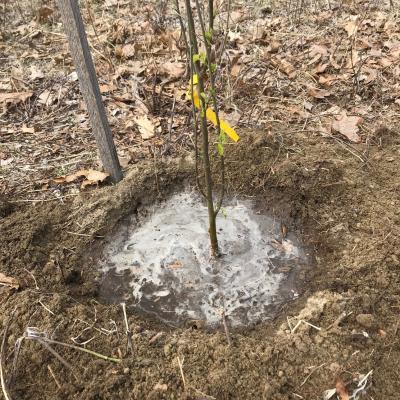
- Add lots of water and we built up walls around the tree to hold the water in.
- Then, add bark mulch. This helps retain moisture. Be sure not to cover the root collar with the bark mulch.
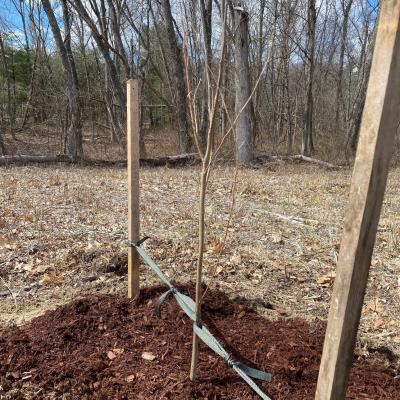
- Lastly, for larger seedlings, add security stakes and strap the tree to them so it will grow straight. These will need to be adjusted and you should take care not to use wire or something that will damage the bark.
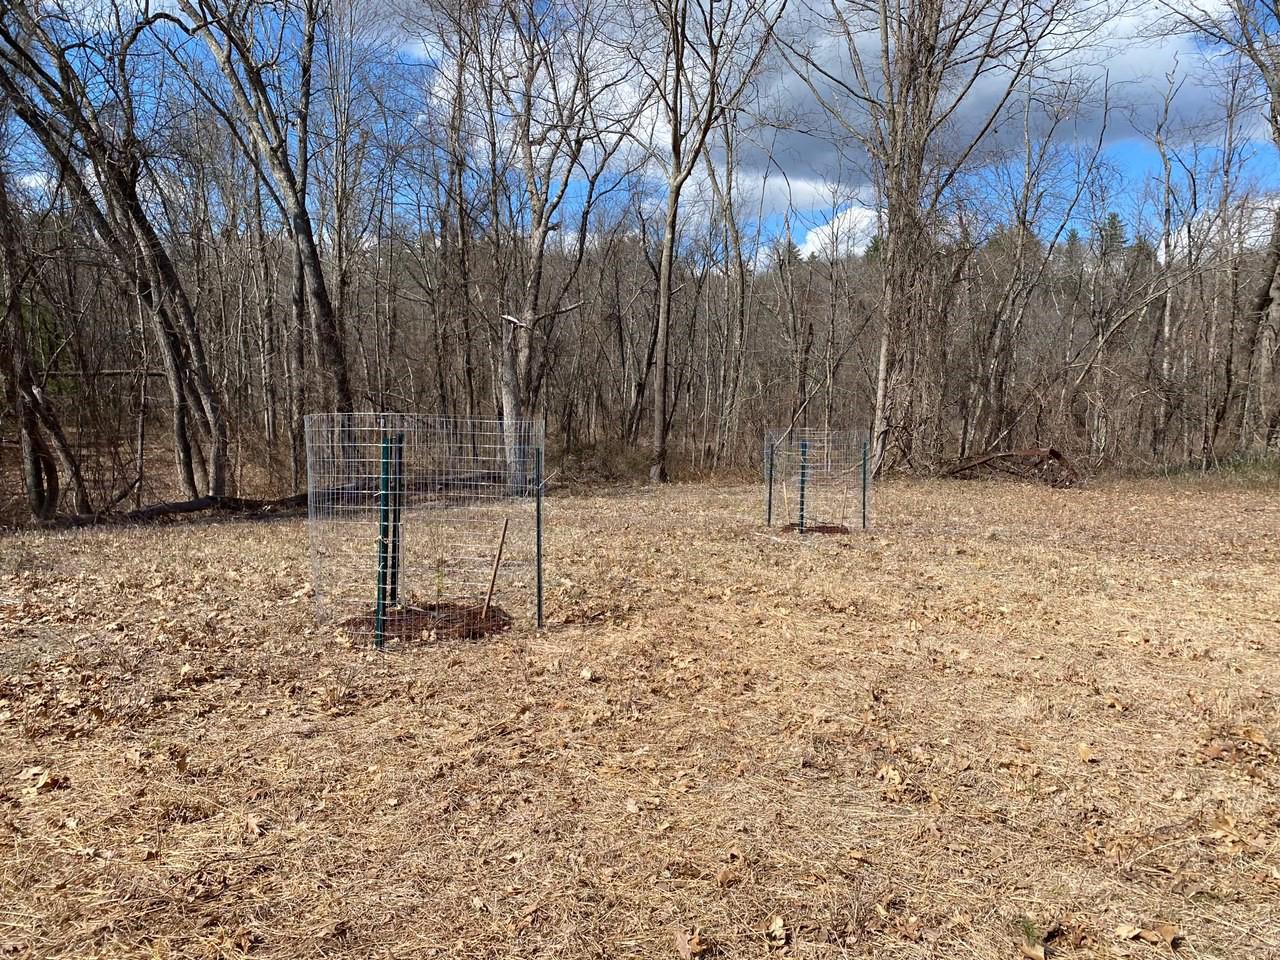
In this case, we added fencing to protect the trees from deer or animals that may eat or damage them.
We will leave the fencing and stakes until the trees are a bit larger and more stable. Happy planting!